How to Create Filters in Gmail (Automate Your Inbox in 10 Minutes)
Advertisement
Every email you sort by hand is a decision you’ll repeat tomorrow, and the day after, until the inbox wins. Gmail filters remove that repetition: you define the rule once — “emails from this sender get this label and skip the inbox” — and Gmail applies it to every matching message from that moment on. Ten minutes of setup can save hours of manual triage over a month.
This guide walks through creating filters from scratch, explains every criterion and action available, and ends with practical examples you can copy directly. If your inbox is already overflowing before you start, our guide to organizing your Gmail inbox covers the cleanup pass that makes filters more effective.
What a Filter Actually Is
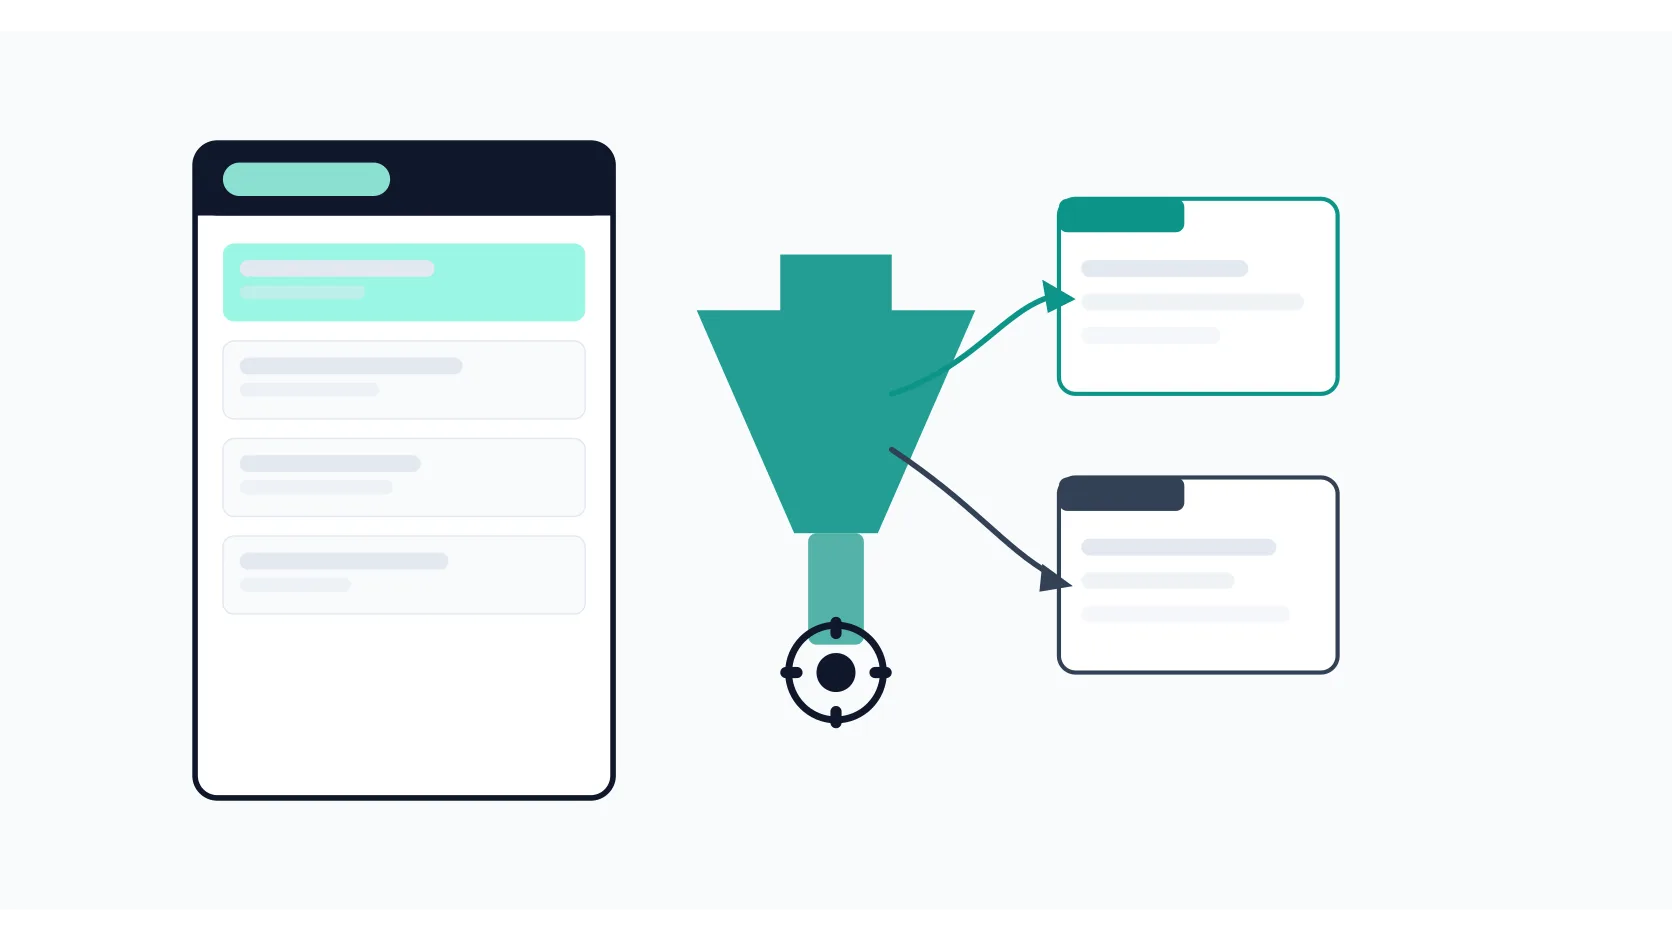
A filter is two parts glued together:
- Criteria — conditions an incoming email must meet (sender, subject keywords, attachments, size, etc.). Multiple criteria combine with AND: the email must satisfy all of them.
- Actions — what Gmail does to matching emails (apply a label, skip the inbox, mark as read, forward, delete, star, never send to spam).
Filters apply to new incoming messages only by default. When you create one, Gmail offers a checkbox to also apply it to existing matching emails — check it if you want to retroactively organize your backlog.
Creating a Filter from the Search Bar
This is the most flexible method because you can test the criteria before committing.
- Click the Show search options icon inside the search box at the top of Gmail — it looks like three horizontal sliders.
- Fill in your criteria. Leave fields blank to skip them; every field you fill narrows the match.
- Click Search to preview which existing emails match. Adjust until the results look right.
- Click Create filter at the bottom of the search panel.
- Check the boxes for the actions you want.
- Optionally check Also apply filter to matching conversations to retroactively label or archive existing emails.
- Click Create filter to save.
Creating a Filter from an Existing Email
When you’re staring at exactly the kind of email you want to automate, this shortcut pre-fills the criteria for you.
- Open the email (or check its box in the list view).
- Click the three-dot More menu at the top.
- Choose Filter messages like these.
- The search options panel opens with the sender already filled in. Add or adjust criteria as needed.
- Click Create filter and choose your actions.
Available Criteria
| Field | What it matches | Example |
|---|---|---|
| From | Sender email address | newsletter@company.com |
| To | Recipient address (useful with aliases) | invoices@yourdomain.com |
| Subject | Words in the subject line | ”invoice” OR “receipt” |
| Has the words | Words anywhere in the email body or subject | project update |
| Doesn’t have | Excludes emails containing these words | unsubscribe |
| Has attachment | Any file attached | (checkbox) |
| Size | Larger or smaller than a threshold | larger than 5 MB |
Operators work inside the text fields: OR between terms, “exact phrase” in quotes, - to exclude, and from:, subject:, label: prefixes for advanced queries.
Available Actions
| Action | Effect |
|---|---|
| Skip the Inbox (Archive it) | Email lands in All Mail, not the inbox |
| Mark as read | Removes the unread badge immediately |
| Star it | Adds a star for quick retrieval |
| Apply the label | Tags the email with a label you choose |
| Forward it | Sends a copy to another address (must be verified first) |
| Delete it | Sends straight to Trash |
| Never send to Spam | Whitelists the sender |
| Never mark it as important | Keeps it out of the Important section |
| Categorize as | Places it in Primary, Social, Promotions, Updates, or Forums |
You can combine multiple actions — the most common pairing is Apply the label + Skip the Inbox, which files the email neatly without cluttering your view.
Practical Filters You Can Copy
1. Newsletter triage. Criteria: from:newsletter@* or Has the words: unsubscribe. Actions: Apply label “Newsletters”, Skip the Inbox. Result: newsletters collect under one label for batch reading without interrupting your day.
2. Invoice and receipt filing. Criteria: Subject: invoice OR receipt OR payment. Actions: Apply label “Finance”, Never send to Spam. When you need an attachment from one of these later, our guide to saving Gmail attachments to Google Drive automates that half too.
3. Form submission alerts. If you run a Google Form connected to Sheets, notification emails can flood the inbox. Criteria: Subject: "form response". Actions: Apply label “Form Responses”, Mark as read, Skip the Inbox. You check the Sheet directly; the emails are just a backup.
4. Mute a noisy thread. Criteria: Subject: "the exact thread subject". Actions: Skip the Inbox, Mark as read. The conversation continues in All Mail but stops pinging you.
5. Protect important senders. Criteria: From:boss@company.com. Action: Never send to Spam, Star it. Belt-and-suspenders against false-positive spam filtering.
Editing and Deleting Filters
- Click the gear icon → See all settings.
- Open the Filters and Blocked Addresses tab.
- Find the filter in the list. Click edit to change criteria or actions, or delete to remove it entirely.
- When editing, click Continue after adjusting criteria, then Update filter to save.
To delete several filters at once, check their boxes and click Delete at the bottom of the page.
Tips and Gotchas
- Filters only see new mail. A filter you create today won’t touch yesterday’s inbox unless you check “Also apply filter to matching conversations” during setup.
- Forwarding requires verification. You can’t forward to an address that hasn’t confirmed the link Gmail sends it.
- Multiple criteria are AND, not OR. If you need “from sender A OR from sender B”, put both in the Has the words field using the OR operator: from:a.com OR from:b.com.
- One label per filter. Each filter can apply only one user-defined label. If you need two labels on the same email, create two filters with identical criteria.
- Order doesn’t matter. Gmail evaluates all filters independently; there’s no priority ranking. Two conflicting filters both run, which can produce unexpected results (e.g., one deletes while another labels).
Frequently Asked Questions
Do filters work on the Gmail mobile app?
Filters run on Google’s servers, so they process mail regardless of which device you check. However, you can only create and edit filters through a desktop browser — the mobile app doesn’t expose the filter settings interface.
How many filters can I have?
Gmail doesn’t publish a hard limit, but most users hit practical limits around a few hundred before the settings page becomes unwieldy. There’s no performance penalty for having many filters.
Can I export my filters to back them up?
Yes. In Settings → Filters and Blocked Addresses, check the filters you want, then click Export at the bottom. Gmail downloads an XML file you can re-import into any Gmail account via the same page.
Why isn’t my filter catching existing emails?
You likely didn’t check “Also apply filter to matching conversations” when creating it. Filters are forward-looking by default. Edit the filter, check that box, and click Update to retroactively apply it.
Can a filter auto-reply to emails?
No. Gmail filters can label, archive, forward, star, or delete — but they cannot send a response. Auto-replies require Google Workspace’s vacation responder or a third-party add-on.
Sources: