How to Remove Background in Canva (Free and Pro Methods That Actually Work)
Advertisement
I needed a transparent PNG of a product photo for a client’s landing page. Opened Canva, dropped the image in, and stared at the toolbar looking for something obvious — an eraser, a lasso, anything. There was no obvious path. The actual feature is called BG Remover, it lives inside the Edit panel, and whether you can use it depends entirely on which plan you’re on. Here’s both routes, including the free one that nobody mentions.
The Pro Method: One-Click BG Remover
If you’re on Canva Pro, Teams, Education, or Nonprofits, this is the fast path.
- Open your design and click the image you want to edit — a single click selects it and reveals the floating toolbar.
- Click Edit photo in that toolbar.
- In the panel that opens on the left, click BG Remover under Tools.
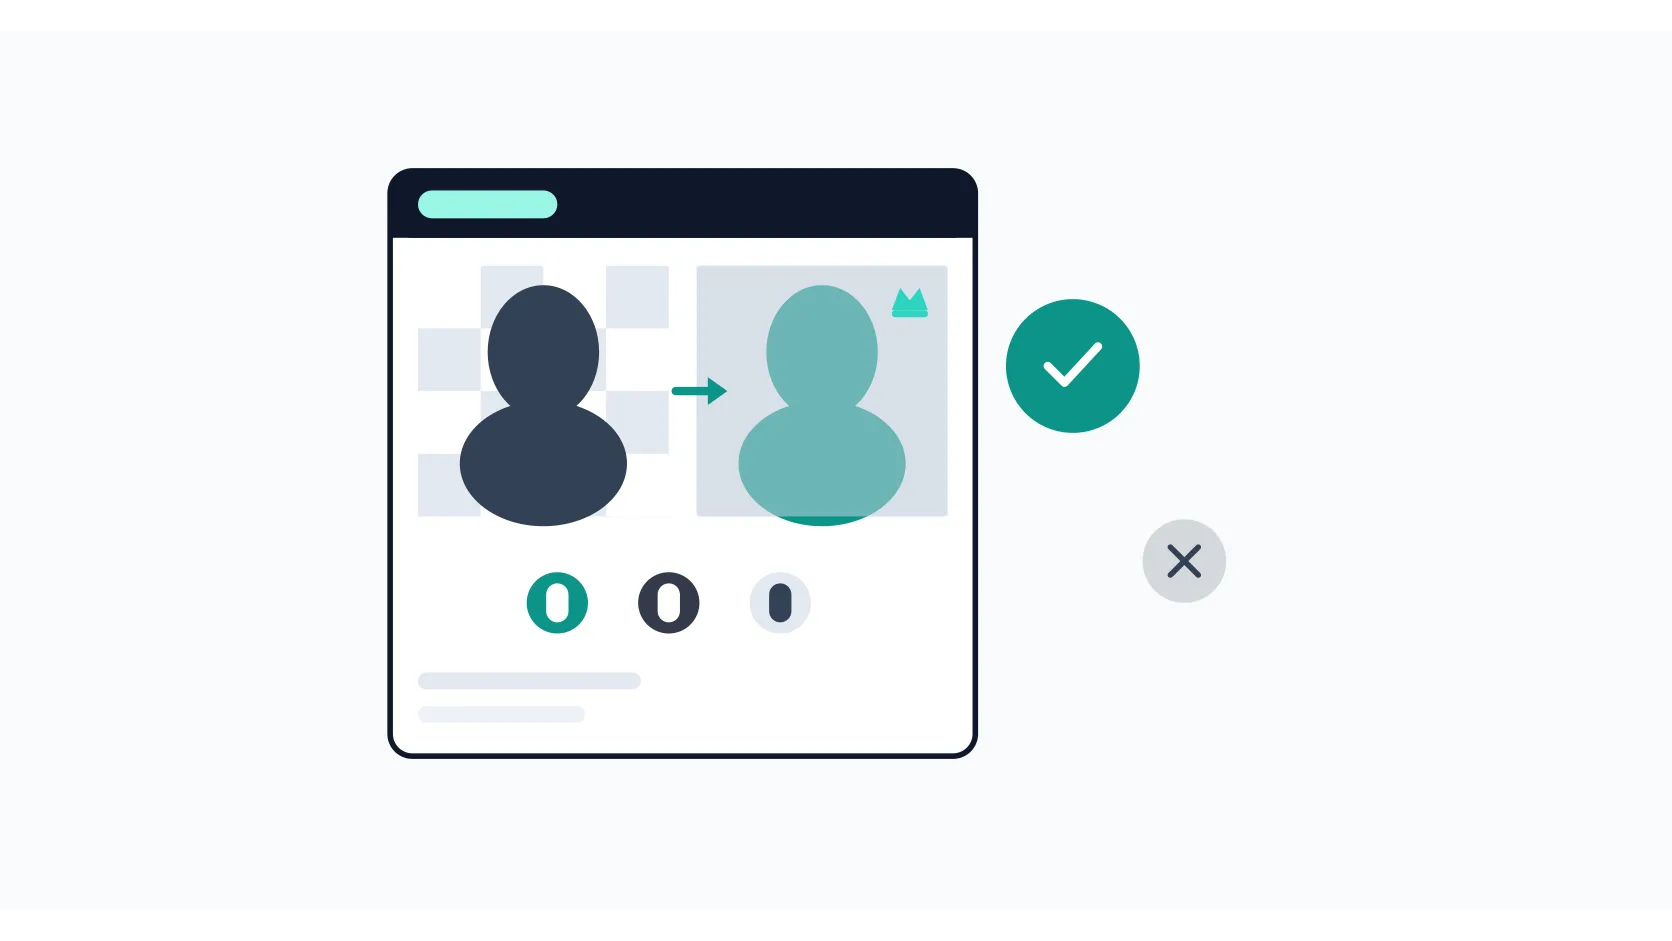
- Wait three to five seconds while Canva processes. The background disappears and the checkerboard transparency pattern appears.
That’s it for clean, high-contrast images. For everything else — hair, fur, semi-transparent fabric, busy backgrounds — you need the refinement brushes.
Erase and Restore brushes
After BG Remover runs, the same panel shows two brush options:
- Erase — paints away any leftover background the AI missed.
- Restore — brings back parts of the subject the AI accidentally removed.
Adjust the brush size with the slider. Hold the brush over the problem area and drag. Two things that save time:
- Toggle Show original image to compare your edit against the source in real time.
- Zoom in before brushing edges. The undo/redo icons at the top of the panel handle mistakes, but they’re easier to avoid at high zoom.
Limits that actually matter
Three constraints trip people up:
- File size: images over 9 MB won’t process. Compress or resize before uploading.
- Resolution cap: anything above 10 megapixels gets downscaled to 10 MP after removal. If you need full resolution, note that the output will be smaller than the input.
- Format: vector images (SVG) can’t be processed. BG Remover works on raster photos only — JPG, PNG, HEIC, HEIF.
The Free Workaround: Remove Outside Canva, Import Back
If you’re on the Free plan, BG Remover shows up in the panel but grays out or watermarks the result depending on your account state. You can’t rely on it.
The practical free path is to remove the background with a dedicated free tool, then upload the transparent PNG back into Canva.
- Export or download your image from Canva as PNG (or use the original file).
- Open a free background remover — remove.bg, Adobe Express's free remover, or Photopea's Magic Wand for complex edges.
- Upload your image, let it process, and download the result as a transparent PNG.
- Back in Canva, upload the PNG via Uploads → Upload files and place it in your design.
The tradeoff: you leave Canva’s canvas, do one round-trip, and lose the Erase/Restore refinement. But for a clean subject on a simple background, the free tools produce identical results.
Which free tool for which job
| Tool | Best for | Limitation |
|---|---|---|
| remove.bg | Fast, one-click, good edges | Watermarks high-res downloads on free tier |
| Adobe Express | Clean output, no watermark | Requires free Adobe account |
| Photopea (magic wand / lasso) | Complex edges, hair, semi-transparency | Manual work, steeper learning curve |
For most product photos and headshots, remove.bg or Adobe Express gets you done in under a minute. For hair or fur, Photopea’s manual selection is worth the five extra minutes.
Bulk Removal From the Projects Tab
If you have a folder of product photos to process and you’re on a paid plan, Canva can do them all at once.
- From the Canva homepage, go to Projects.
- Hover over the folder, click the three-dot menu (⋯), and select Remove background.
- Canva processes each image and creates a new folder named "[folder name] - Edited." Your originals stay untouched.
For selective bulk: open the folder, check the boxes on individual images, then click BG Remover in the toolbar that appears at the bottom.
Constraints: max 50 images per batch, uploaded images only (Canva library photos are skipped), and one folder at a time.
Video Backgrounds (Pro Only)
Canva also removes backgrounds from video clips under 10 minutes. The path is identical: select the video → Edit video → BG Remover. Processing takes longer than photos. On mobile, the video must come from the Uploads tab — clips added via Camera Roll or Gallery won’t process.
If your clip was trimmed inside Canva, you’ll need to download and re-upload it before BG Remover works on it.
After Removal: What to Do With the Transparent Image
Once the background is gone, three common next steps:
- Add a new background. Drop the transparent PNG on top of any color, gradient, or photo in your design. Layer order controls what shows behind.
- Export as PNG. To keep transparency in the final file, download as PNG — not JPG, which fills transparent areas with white.
- Use in a presentation. If the end product is a slide deck, importing the transparent PNG into a reusable Google Slides template keeps your brand layout intact without rebuilding it in Canva.
Troubleshooting
BG Remover is grayed out. You’re on the Free plan. The feature requires a paid subscription. Use the free workaround above.
The tool runs but leaves a white rectangle instead of transparency. You downloaded as JPG. Re-download as PNG to preserve the alpha channel.
Processing takes very long or fails. Check your internet connection first — BG Remover is cloud-based and needs a round trip to Canva’s servers. Also confirm the image is under 9 MB and isn’t a vector file.
Edges look rough around hair or fine details. The AI struggles with low-contrast edges. Use the Erase/Restore brushes on desktop, or for Free-plan users, switch to Photopea’s manual selection for that specific image.
I removed the background but the image quality dropped. If the original was above 10 MP, Canva downscaled it. There’s no way around this within Canva; process the full-resolution file in an external tool instead.
Frequently Asked Questions
Can I remove backgrounds in Canva for free?
Not reliably. BG Remover requires a paid plan. Free accounts may occasionally see a one-time trial prompt, but it’s not something to build a workflow around. The dependable free path is an external remover (remove.bg, Adobe Express) plus re-uploading the transparent PNG.
Does removing a background in Canva add an AI content label?
No. Canva’s documentation confirms that BG Remover uses AI internally but is classified as an editing tool. Using it doesn’t add Canva’s AI-generated content metadata, so your export won’t be flagged as AI content on social platforms.
Can I use BG Remover on Canva library photos?
From the editor, yes — select any photo in your design and apply it. From the Projects folder bulk route, no — only uploaded images are processed; library photos in a folder are skipped.
Why did my transparent image come out with a white background after download?
You exported as JPG. JPG doesn’t support transparency and fills it with white. Download as PNG to keep the transparent background.
Sources: