How to Resize an Image in Canva (Without Stretching or Losing Quality)
Advertisement
Resizing an image in Canva takes about two seconds — click the image, drag a corner, done. But the two seconds hide a few decisions that determine whether your result looks sharp or stretched, whether it exports at the right pixel size, and whether you need a Pro subscription to do what you’re doing. This guide covers all three resize scenarios: scaling a photo inside a design, setting exact dimensions, and converting an entire design to a different format.
Resizing a Photo Inside a Design
This is the most common case. You have an image on the canvas and want it bigger or smaller.
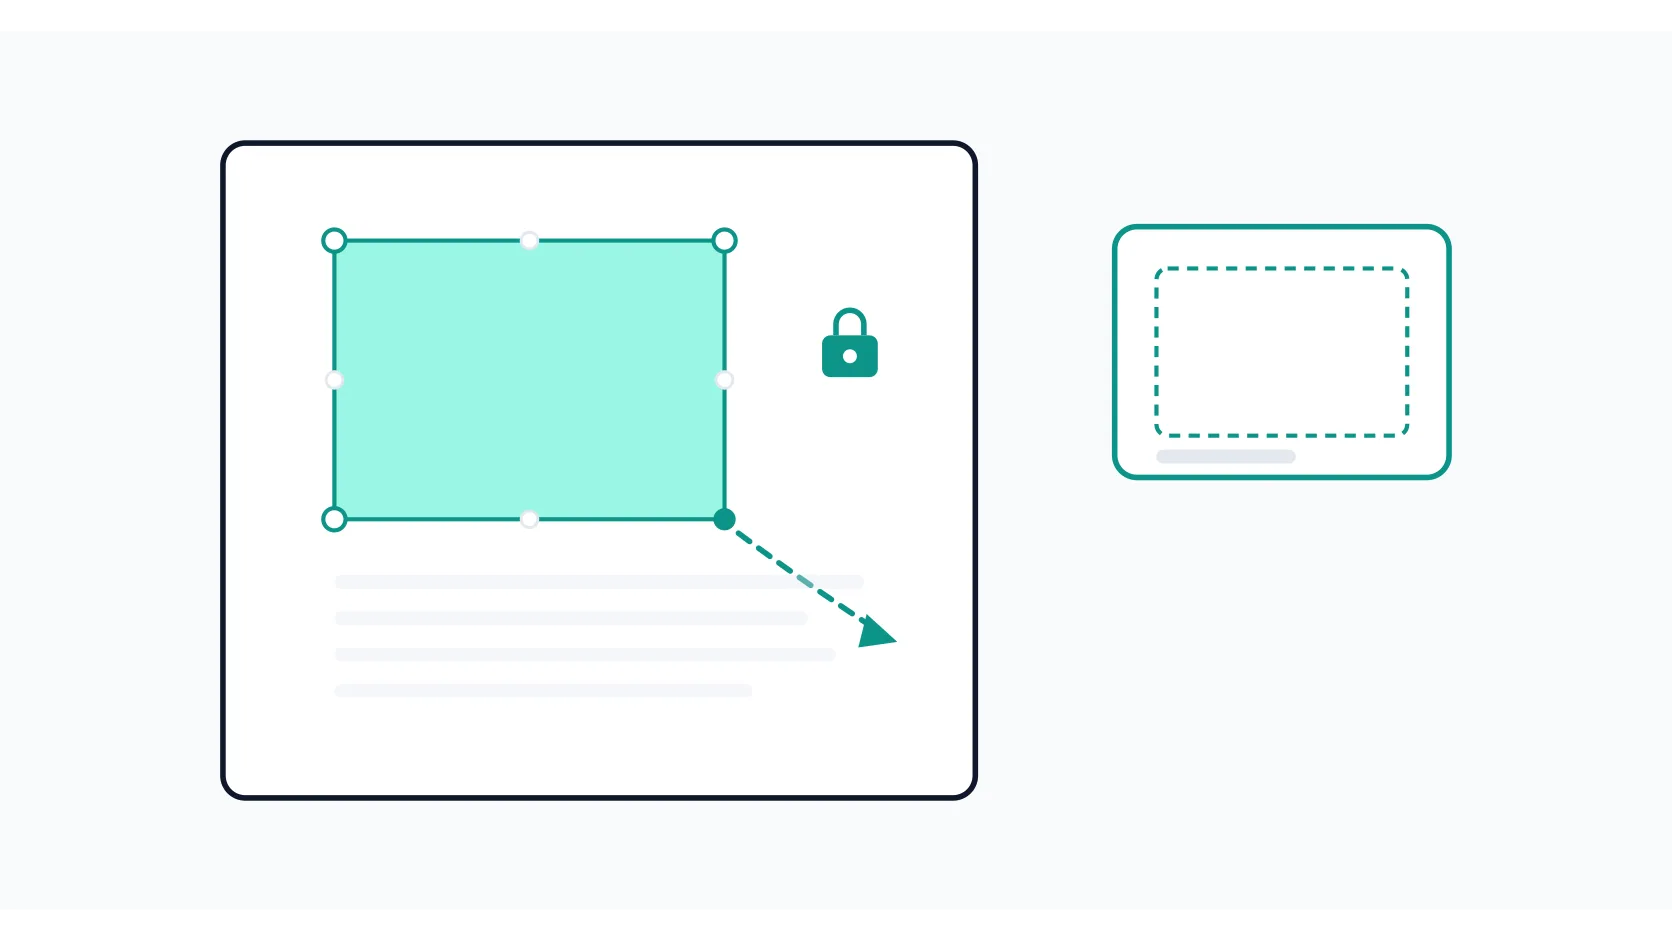
- Click the image once to select it. Eight white handles appear around the edges.
- Drag a corner handle inward to shrink or outward to enlarge. Corner handles lock the aspect ratio automatically — the image stays proportional.
- Release when the size looks right, then drag the image itself to reposition.
If the photo sits inside a frame element, double-click it to adjust the crop and position within the frame boundary. The frame size stays fixed; the image moves and scales behind it.
Setting Exact Pixel Dimensions
When you need an image at a specific pixel size — a 300 × 250 ad banner, a 600 × 600 product thumbnail — dragging by eye won’t cut it.
- Select the image.
- Click Position in the toolbar above the editor.
- Under the Advanced section, type the exact values into the Width and Height fields.
- Toggle Ratio on to keep the proportions locked, or off to set width and height independently.
With Ratio locked, changing one value updates the other automatically. With Ratio unlocked you can stretch — same warning as above applies.
Resizing the Entire Design (Magic Switch)
Sometimes you need the whole canvas at a new size — turning a square Instagram post into a vertical Story, or a landscape banner into a portrait pin. That’s not the same as resizing a single image; every element on every page needs to reflow.
Canva calls this feature Magic Switch (previously Magic Resize). It’s a Pro, Teams, Enterprise, Education, or Nonprofits feature — not available on the free plan.
- Open the design you want to resize.
- Click Resize (or Magic Switch, depending on your editor version) in the top toolbar.
- Pick a preset format from the suggestions, or choose Custom size and enter your own dimensions.
- Choose whether to apply the change to All pages or specific ones.
- Click Copy & resize to keep the original intact, or Resize this design to change it in place.
After Magic Switch runs, check every page. Text blocks shift, images get clipped, and spacing changes. Automated reflow is convenience, not perfection.
Free vs. Pro: What You Can Actually Do
| Task | Free plan | Pro / Teams / Enterprise |
|---|---|---|
| Scale a photo by dragging corner handles | ✓ | ✓ |
| Set exact pixel dimensions via Position → Advanced | ✓ | ✓ |
| Crop a photo or adjust within a frame | ✓ | ✓ |
| Create a new design at any custom size | ✓ | ✓ |
| Resize an existing design to a new format (Magic Switch) | ✗ | ✓ |
| Bulk-resize one design into multiple formats at once | ✗ | ✓ |
The free plan covers every image-level resize you’ll typically need. You only hit the Pro wall when you want to convert the canvas itself to a different format after you’ve already designed it.
Avoiding Quality and Distortion Problems
Resizing is simple; resizing well requires a few habits:
- Start with the highest-resolution source you have. Enlarging a 400 px image to fill a 2000 px canvas doesn’t create detail — it just makes the blur bigger. Canva can’t invent pixels that weren’t in the file.
- Keep important content away from the edges. Social platforms overlay buttons, usernames, and interface elements on the borders of your image. If your subject sits flush against the edge, it may get covered.
- Check the crop after changing aspect ratios. A face centered in a square frame may end up clipped when the canvas becomes a 9:16 Story. After any resize that changes proportions, visually confirm nothing critical was cut.
- Export at the right format. JPG for photographs (smaller file, slight compression), PNG for graphics with text, logos, or sharp edges (lossless). Canva lets you increase the export size up to 3× under the download options if you need a larger file than the canvas provides.
- Don’t resize more than you need to. Every time you shrink and then enlarge, you lose a little sharpness. Do the resize once, at the end of your workflow, not repeatedly during drafts.
If you’re preparing an image that still has an unwanted watermark or logo from a stock source, handle that first — our guide to removing watermarks in Canva covers the available options. Similarly, if the background clashes with your new canvas size after resizing, removing the background in Canva gives you a clean slate to work with.
Frequently Asked Questions
Can I resize an image in Canva without a Pro subscription?
Yes. Dragging corner handles to scale a photo, entering exact pixel dimensions via Position → Advanced, and cropping are all available on the free plan. The only resize feature locked behind Pro is Magic Switch, which converts the entire design canvas to a different format.
Why does my image look blurry after making it bigger?
You’re enlarging a low-resolution source. Canva scales the existing pixels up but can’t generate new detail. The fix is to start with a larger file. If the original is genuinely small, keep the image small on the canvas rather than stretching it to fill space.
Does resizing in Canva reduce quality when I export?
Not if you export as PNG (lossless) at the canvas’s native resolution. JPG applies light compression on each save, so repeated JPG exports degrade the file slightly. For anything you’ll resize or re-export multiple times, keep a PNG master copy.
Can I resize multiple images at once?
Inside the editor, no — you resize one element at a time. But if you need the same photo at several social-media sizes, Magic Switch (Pro) converts one design into multiple formats in a single action. On the free plan, the workaround is creating separate designs at each target size and pasting the image in.
What’s the maximum size I can export?
Canva supports canvases up to 8000 × 8000 px (or 8000 on the longest side). At export time you can scale up to 3× the canvas size, so the practical maximum output is around 24,000 px on one side. If you need print-quality output, set the canvas large from the start rather than relying on export scaling.
Sources: